-
1. ManageArtworks
- Getting Started
- Super User
- Security and Permissions
- Dashboard
- Asset Library
- Reports
-
Workflow
- ManageArtworks Workflow
-
New Brand Design
- Project Initiation
- KLD/ED Inputs
- Design Brief Approval by Division
- Update Design Brief Details
- Design Brief Approval By Division (Updated Version)
- Design Brief Approval by Design Studio
- Concept Presentation By Designer
- Final Sign-Off
- Artwork Development & Proof Reading
- Artwork Approval by Division
- Artwork Approval By Reviewers
- QA Approval
- IDT Approval
- Artwork Release
- Purchase
- Soft Copy Validation
- Print Proof Signoff Design
- Product Code Linkage
- Modify Existing Artwork
- Activity Log
- Files
- Notification Emails
- Administration
- Viewer
- Workflow Actions
- User Creation
- Creation of New Position Code
-
2. Frequently Asked Questions (FAQ)
- Getting Started
- User Profile and Settings
- Dashboard
- Asset Library
- Reports
-
Workflow
- Project Initiation
- KLD/ED Inputs
- Design Brief Approval By Division
- Update Design Brief Details
- Design Brief Approval By Division (Updated version)
- Design Brief Approval By Design Studio
- Concept Presentation By Designer
- Update Concept Presentation by Designer
- Final Sign-Off
- Artwork Development and Proof Reading
- Artwork Approval By Division
- Artwork Approval By Reviewers
- QA Approval
- IDT Approval
- Purchase
- Soft Copy Validation
- Print Proof Signoff Design
- Administration
- Viewer
Clear History
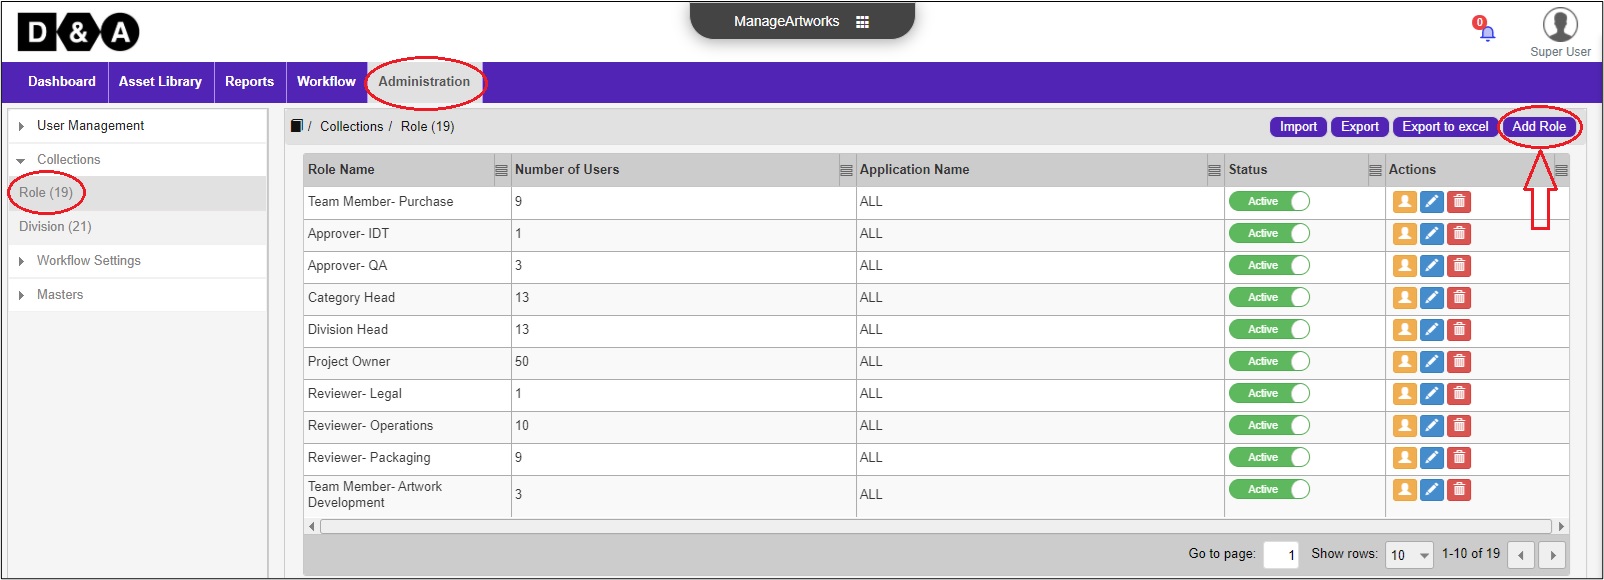
Role
Under Role Click on Add Role to create a new Role name under Role.
-
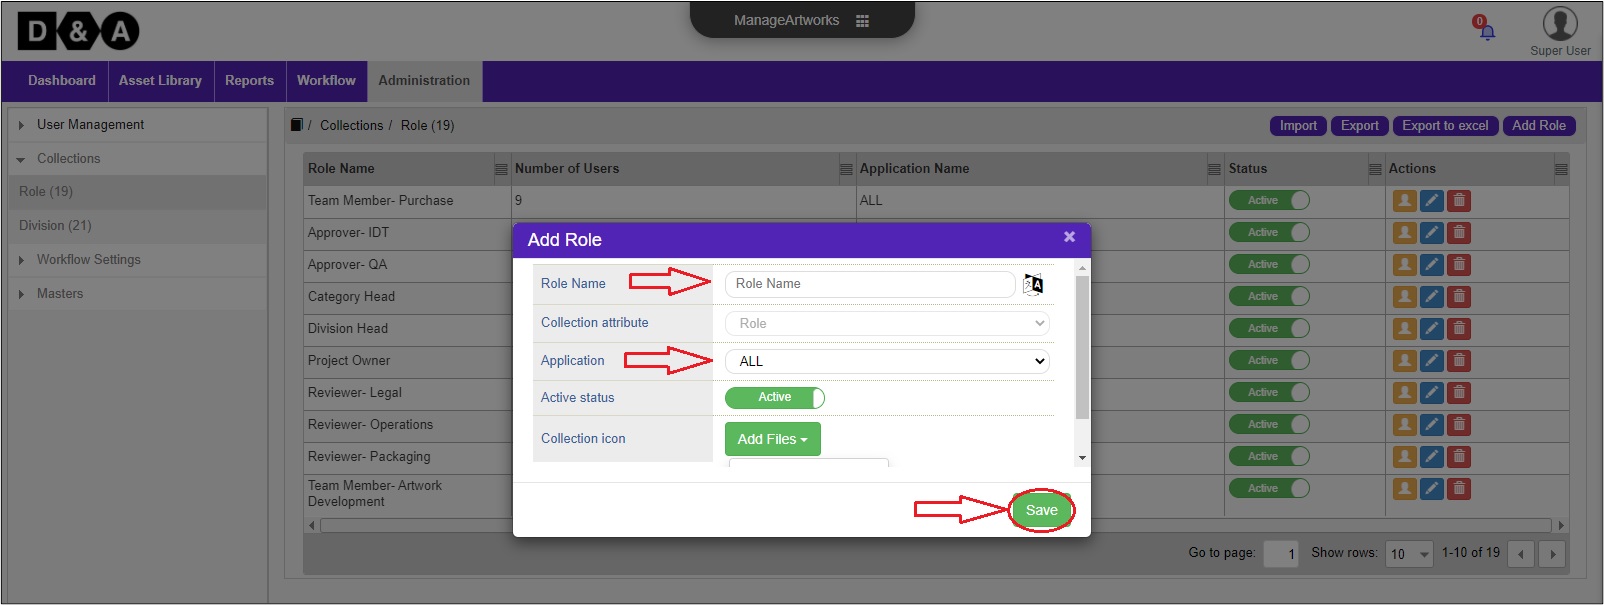
On the Add Role Screen,
- Enter the required Role Name in the role name text box.
- Select the required Application from the application drop down.
- Click the required Status in the active status icon.
- Click on Collection Icon to Add Files from the Desktop or from Asset Library.
- Click on Save to save the role name details.
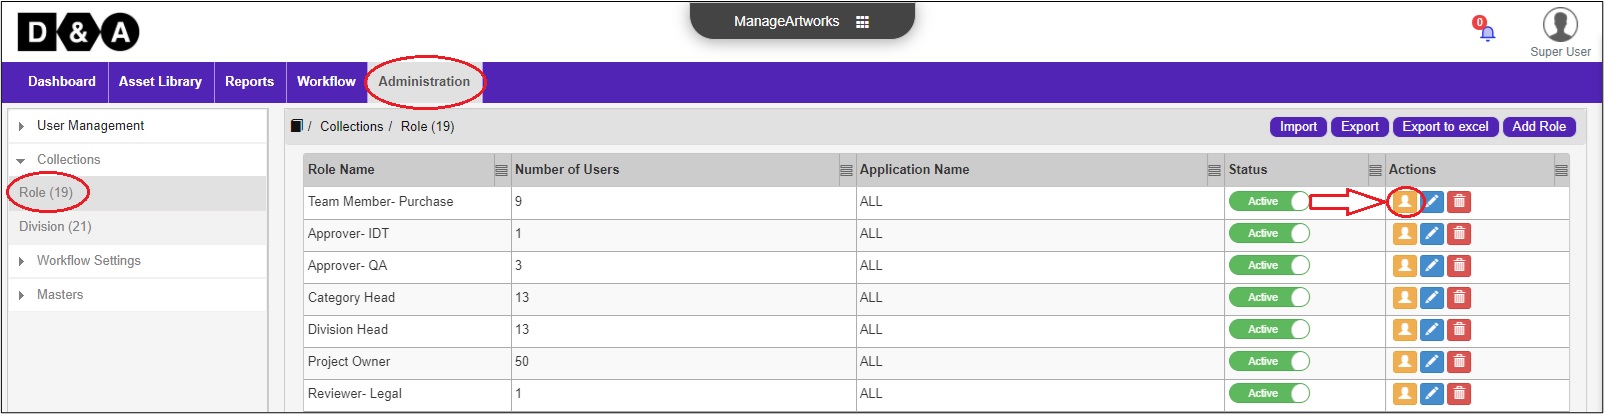
Add Users
Under Actions, click on User icon to add users in their respective Role Name.
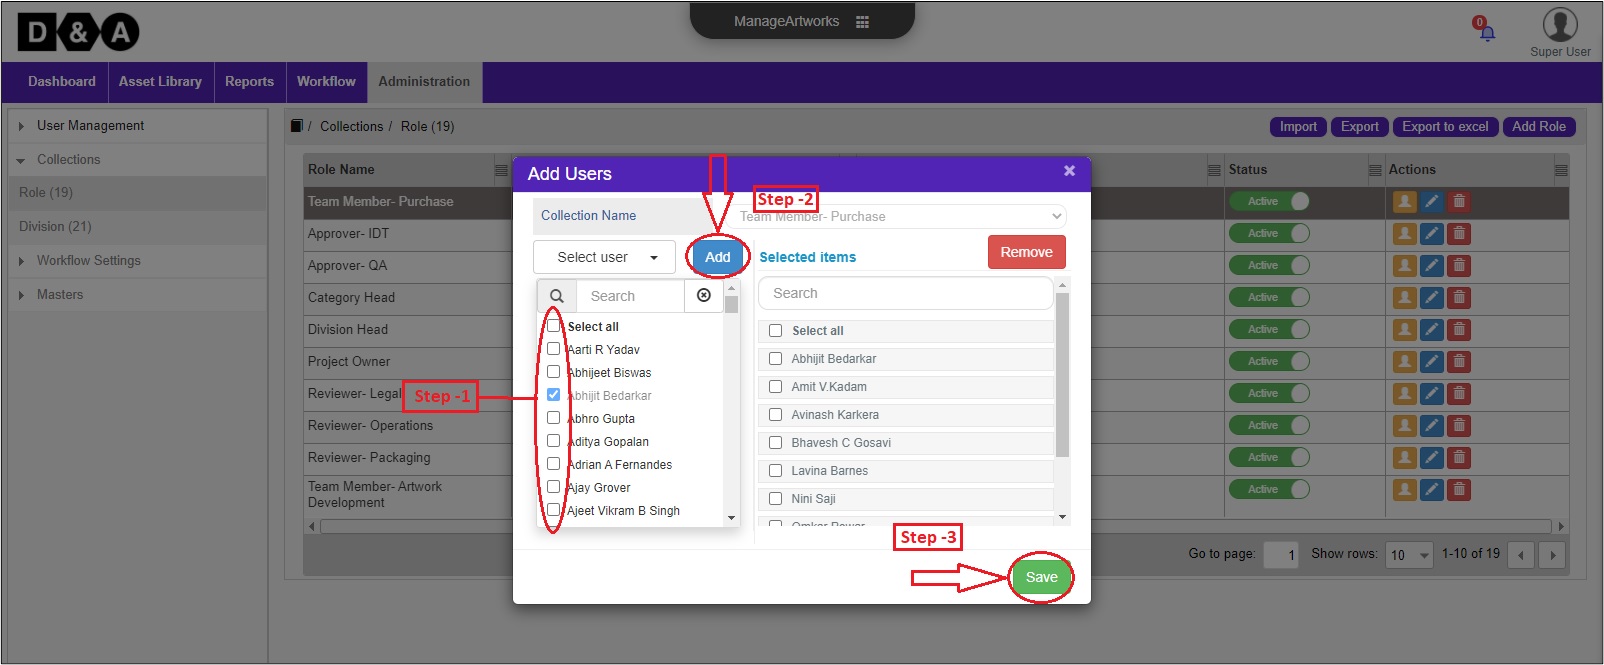
 Select the required Users from the left panel and click on Add icon to add Users into Role. From the right panel, select users and click on Remove icon to remove user from the Role.
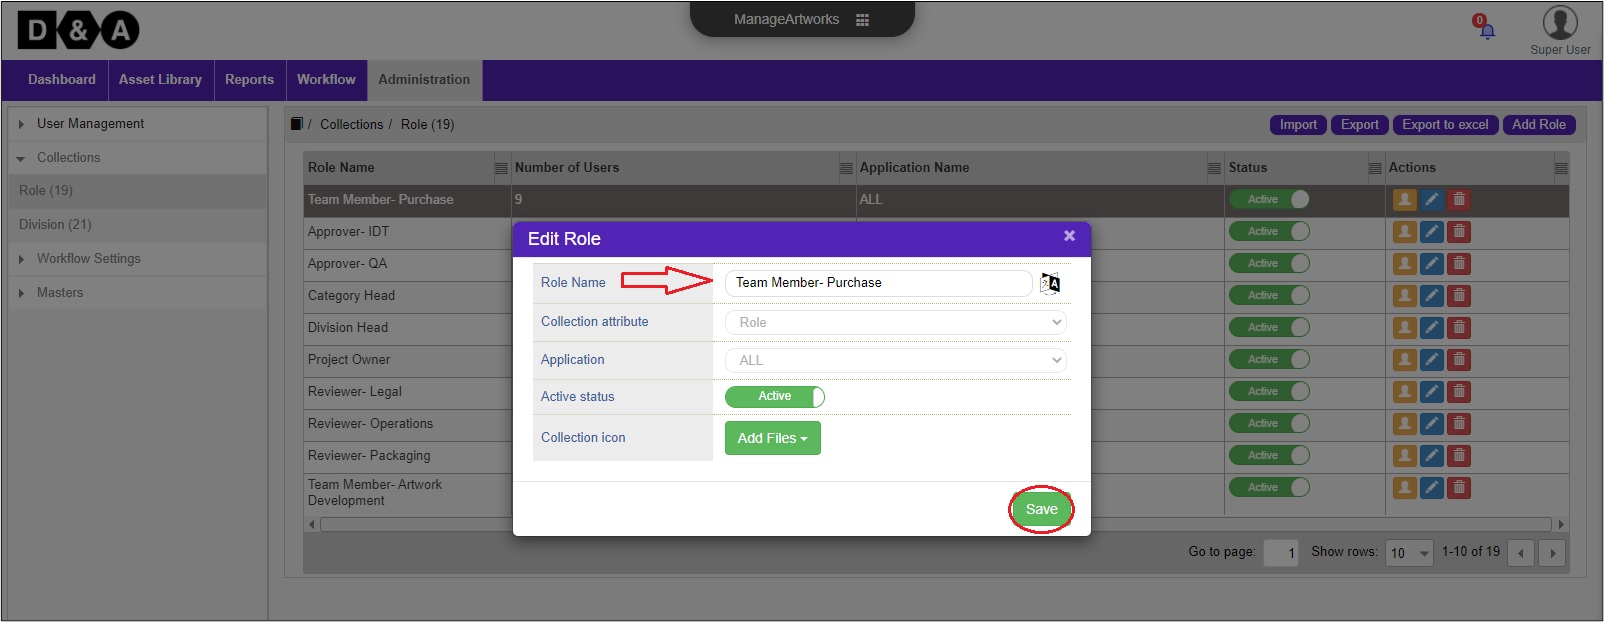
Edit
Under Actions, click on Edit icon to Role Name to modify/rename details. Click on Save to save changes and close the dialog box.

-
On the Edit Screen,
- User can edit the Role Name, Collection icon and Active Status.
- Click on Save to save the edited Role name details.
Powered by ManageArtworks