Project Initiation
To initiate a project the Project Initiator needs to click on Start a New Project, under Start a New Project the Initiator needs to choose the Modify Existing Artwork process option to kick start a new project workflow.

Request Info
Under the Request Info tab, Initiated By and Initiated Date are auto-filled by the system.
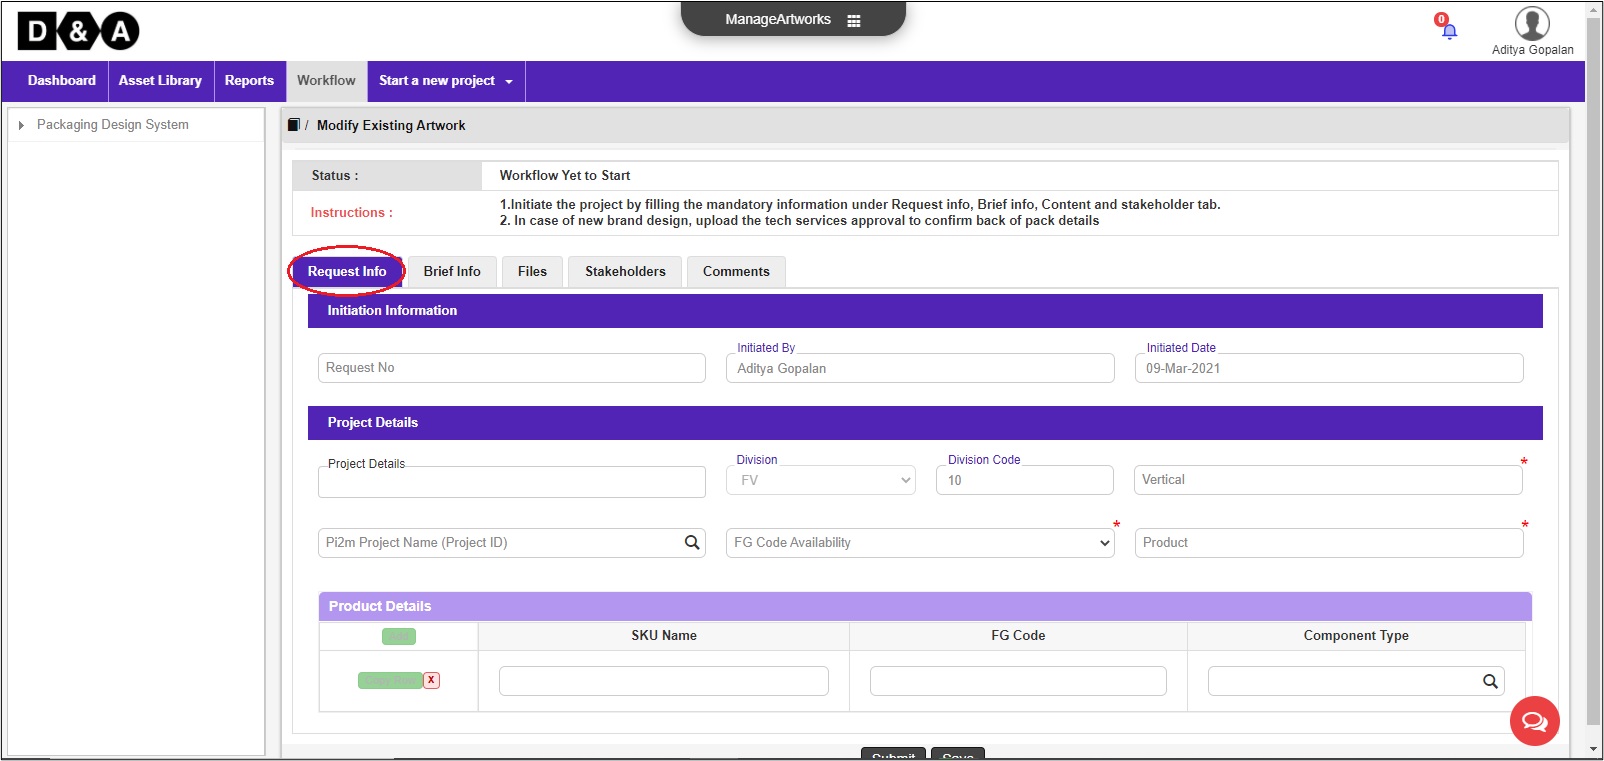
Project Details
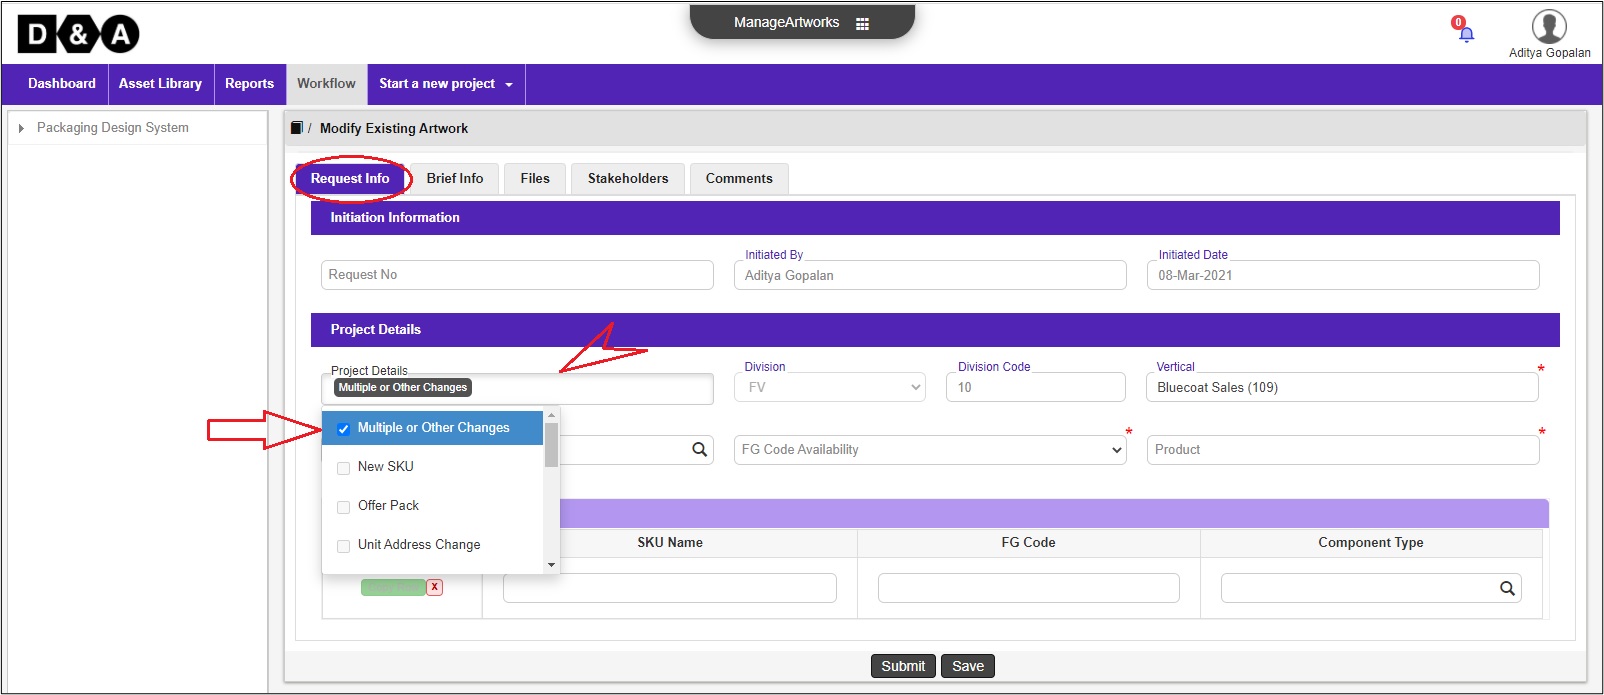
The Initiator needs to select any one Project Details from the lookup such Multiple or Other Changes, New SKU, Offer Pack, Unit Address Change, Barcode Addition, Size Change or ED Change, Government Rule Change, MRP Change, etc, details are mandatory fields to be filled by the Project Initiator. Refer to the image shown below.
Product Details
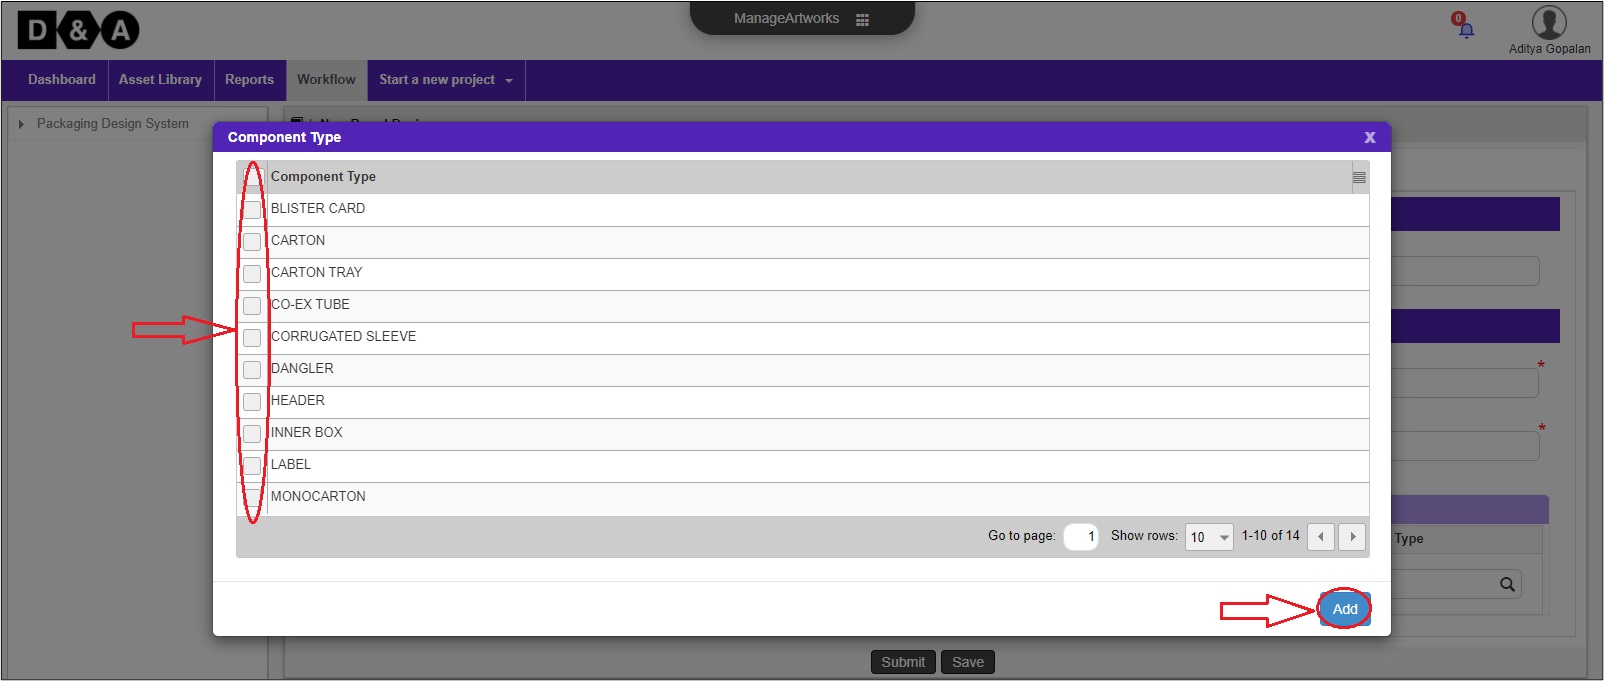
One or more Components can be selected by selecting the Add icon.
 The Initiator needs to click on the Component Type lookup blank field as shown below.
 A pop-up window appears on the screen where the Initiator needs to select Component Type from the pop-up window and click on Save.to save the details as shown below.
 The Initiator needs to enter SKU Name details (mandatory). On selection of SKU Name the FG Code is auto-populated. Refer to the image shown below.

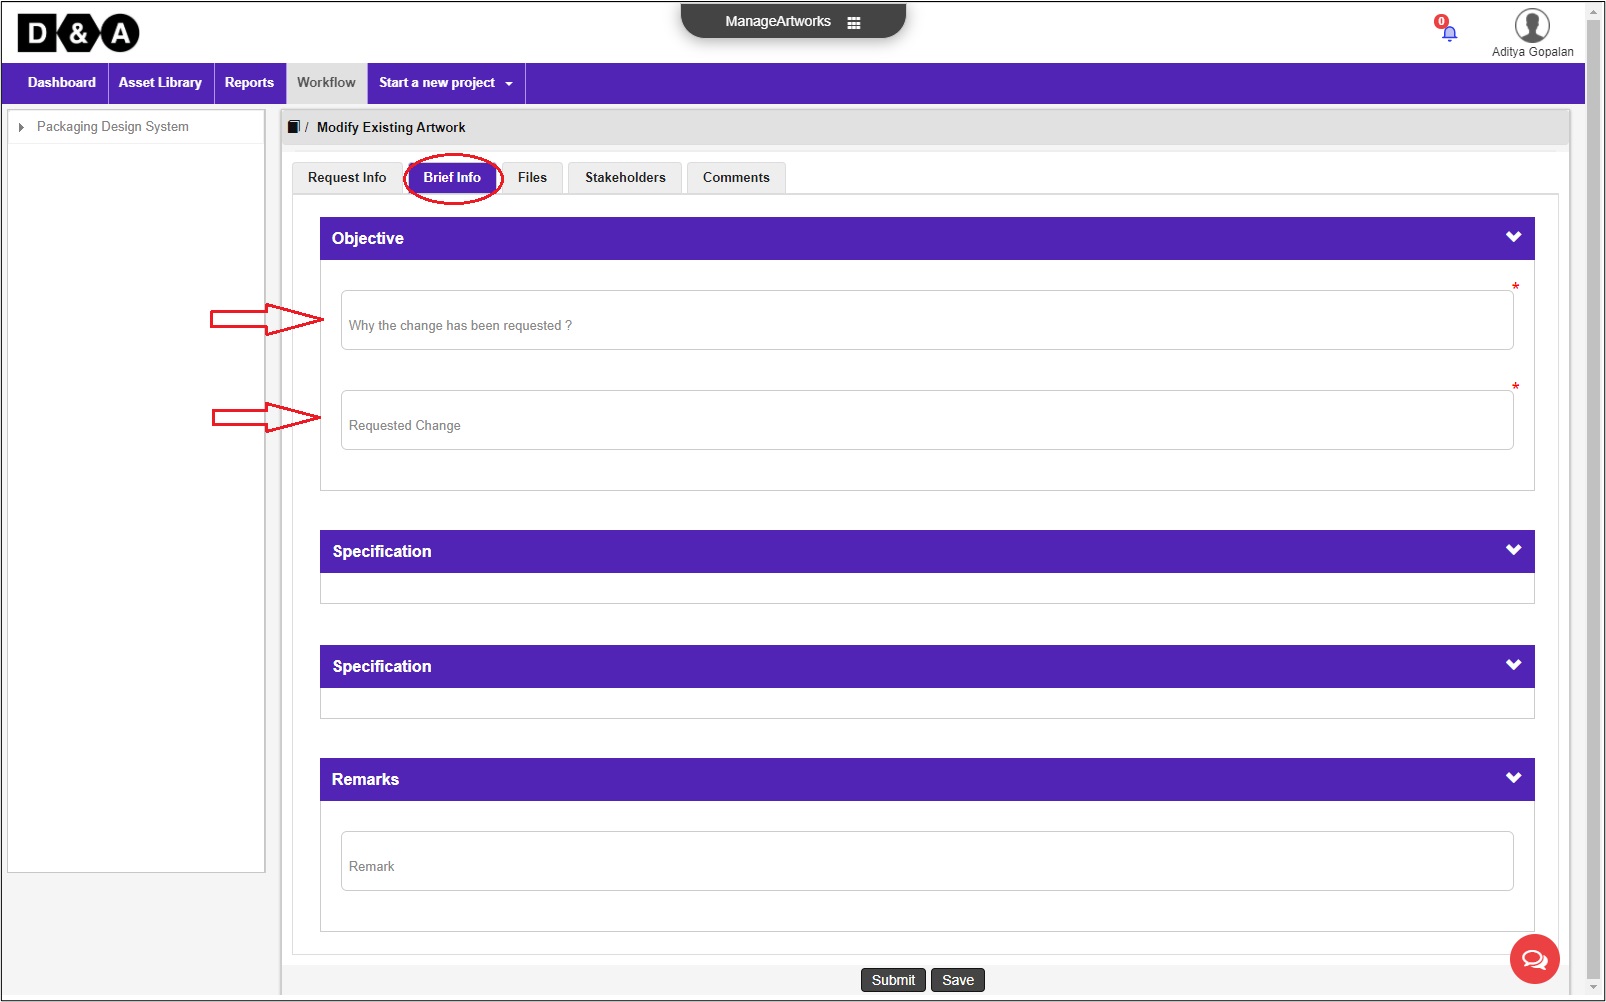
Brief Info
Under Brief Info the Initiator needs enter some mandatory fields like Objective and Remarks.
Objectives
Under the Brief Info tab, the Initiator needs to enter some mandatory fields in the Objective sub-tab such as Why the change has been requested? and Request Change text fields. Refer to the image shown below.
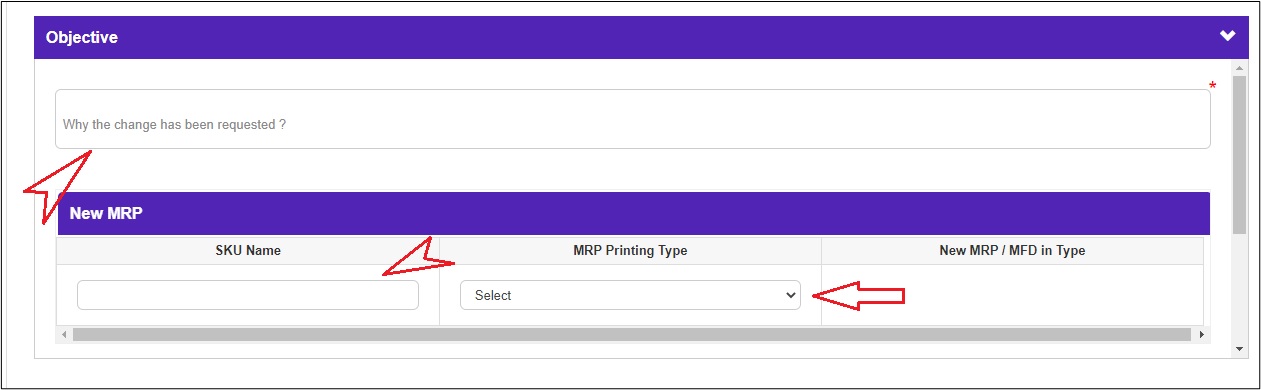
 Based on the selection of Project Details like Multiple or Other Changes, New SKU, Offer Pack, Unit Address Change, Barcode Addition, Size Change or ED Change, Government Rule Change, MRP Change, etc, the Objective sub-tab fields are auto-populated.
For an Example:- If the Initiator selects the New SKU, then under Brief Info the Objective fields appears differently such as Why the change has been request? and New MAP field option. Refer to the image shown below.
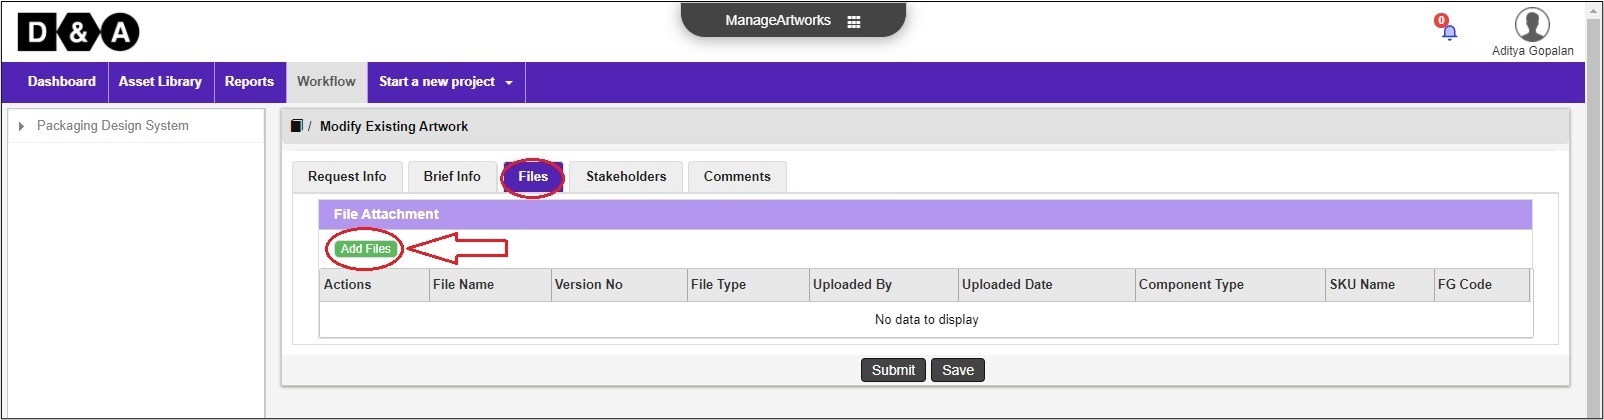
Files
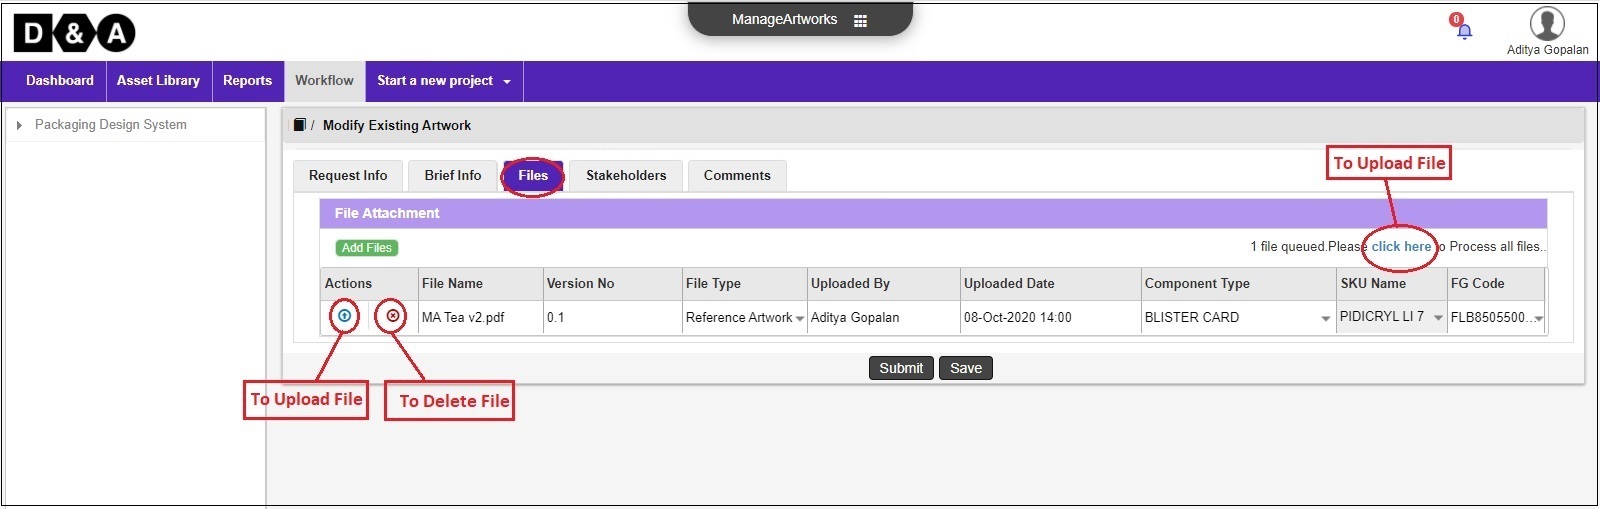
The Project Initiator can also upload Artwork Input files such as Reference Artworks or Others in the Files tab (optional). To upload files the Project Initiator needs to click on the Add Files icon under the Files tab. Refer to the image shown below.
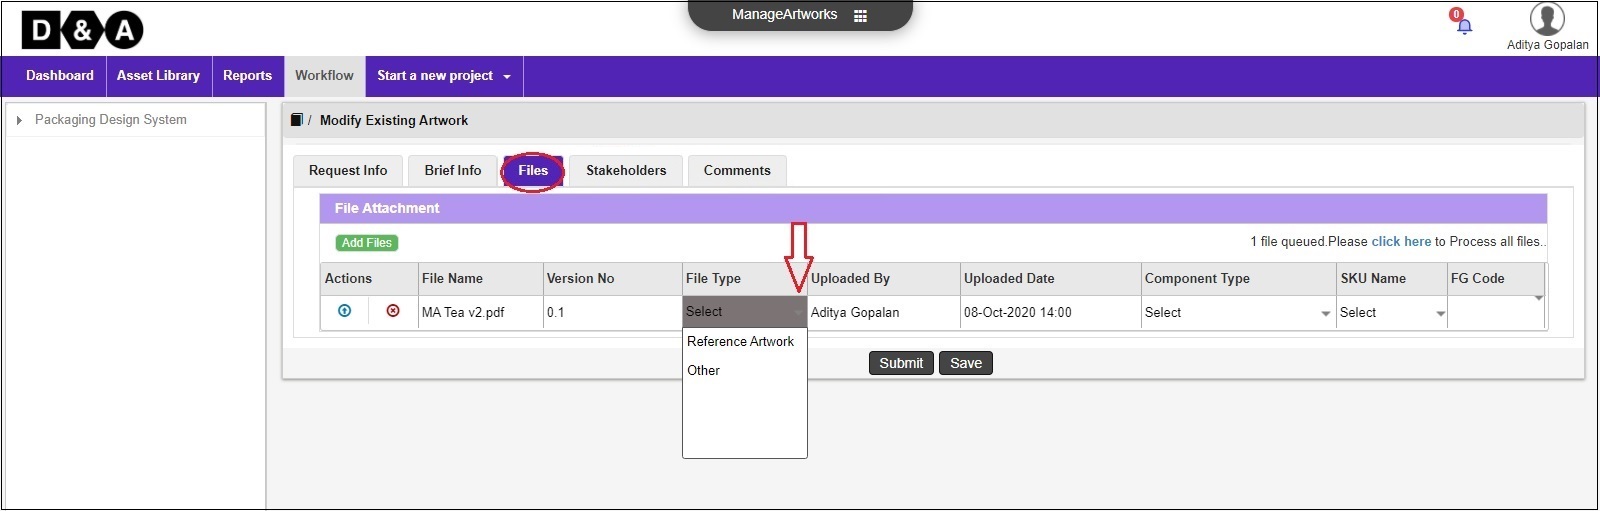
 After uploading the file successfully the Initiator needs to do the following.
- The Initiator needs to select File Type as Reference Artworks or Others from the drop-down.
- The Initiator needs to select Component Type from the drop-down.
- The Initiator needs to select SKU Name from the drop-down. On selection of SKU Name the FG Code is auto-populated.
 There are three action buttons available under Actions:
- Click Here - to upload the file attached.
- Upload - for uploading the file attached.
- Remove - for removing the file attached.
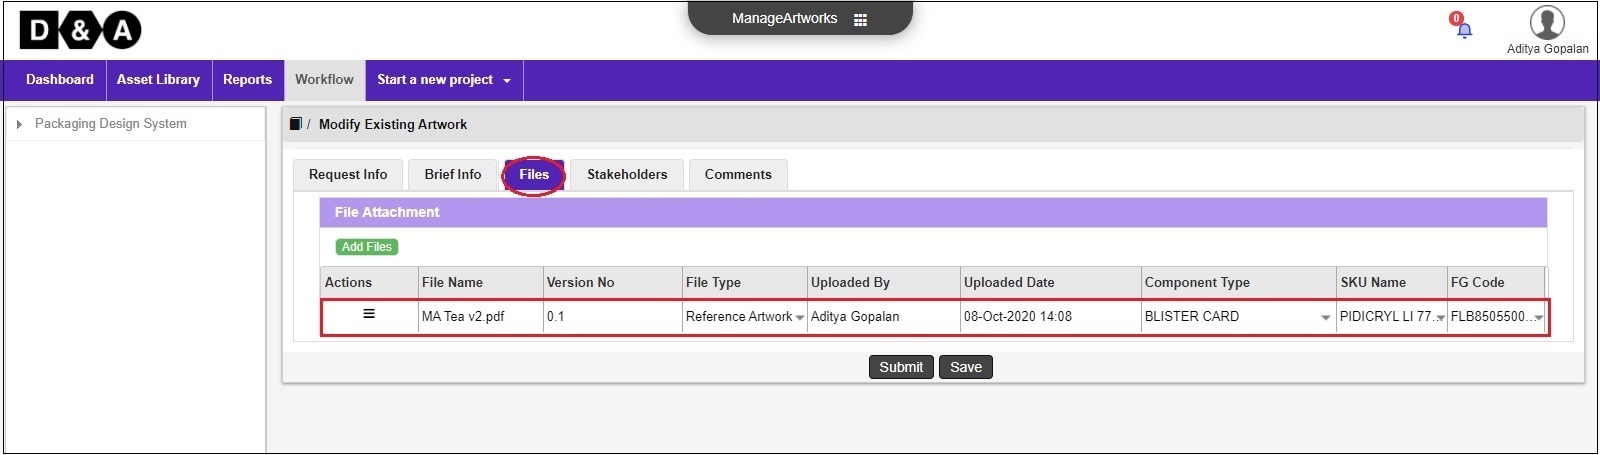
 After successfully uploading the file, it appears under the Files tab as shown below.
Stakeholder
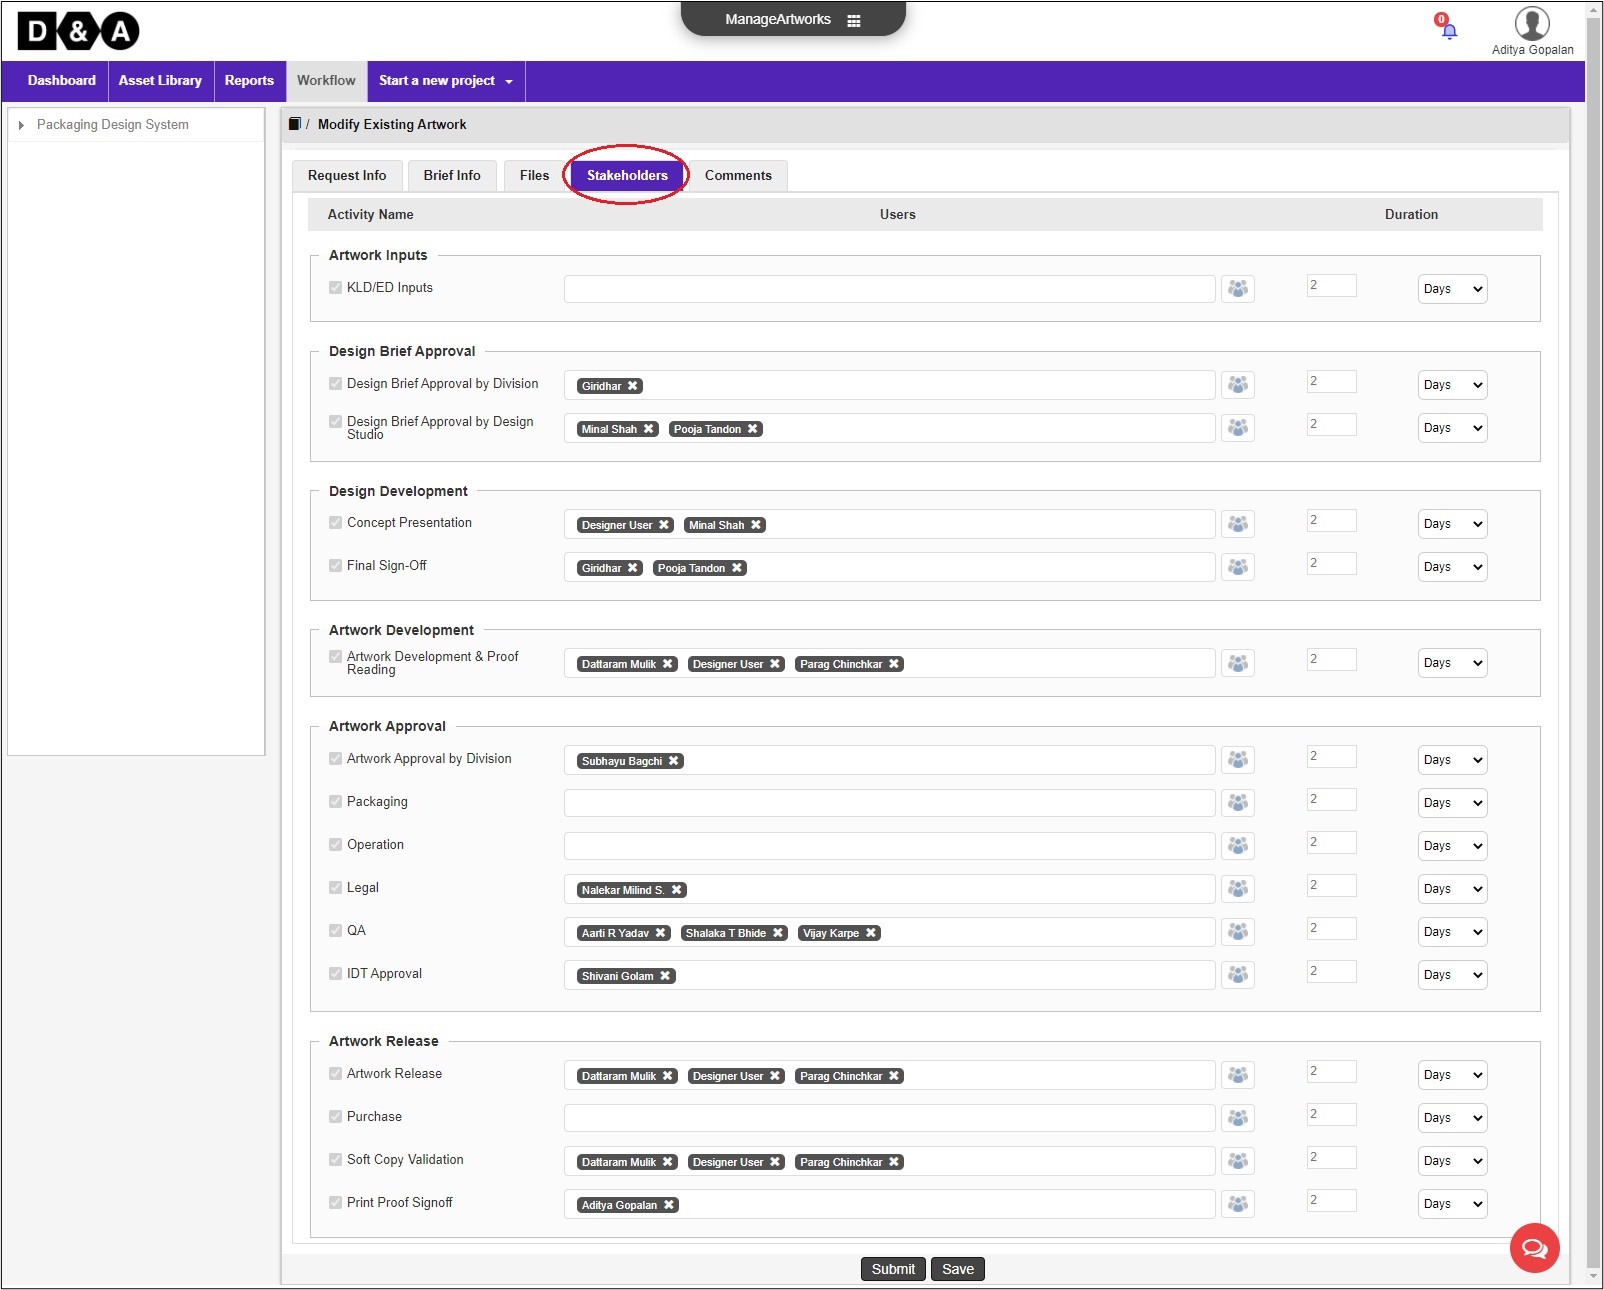
In the Stakeholders Tab, against each activity to be performed:
- The Stakeholders list is auto-populated based on the selection of Project Details from the Request Info form page.
- Multiple Users can also be selected for Design Brief Approval (Design Brief Approval by Division, Design Brief Approval by Design Studio) activity.
- Multiple Users can also be selected for Design Development (Concept Presentation, Final Sign-Off) activity.
- Multiple Users can also be selected for Artwork Development (Artwork Development and Proof Reading) activity.
- Multiple Users can also be selected for Artwork Approval (Artwork Approval by Division, Packaging, Operation, and QA) activity.
- Multiple Users can also be selected for Artwork Release (Artwork Release, Purchase & Soft Copy Validation) activity.
 Note: Based on the selection of Project Details the Stakeholders list activity is auto-populated.
Comments
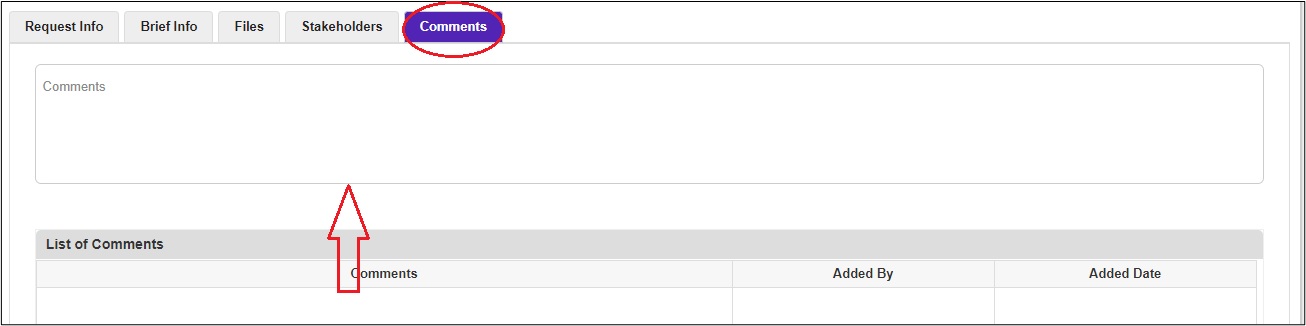
The Initiator can enter Comments (optional) in the comments text field if required. Refer to the image shown below.
 The following are the action buttons available to the Project Initiator at this stage:
- Submit – To initiate a new workflow.
- Save – save changes and revisit activity to complete it later.
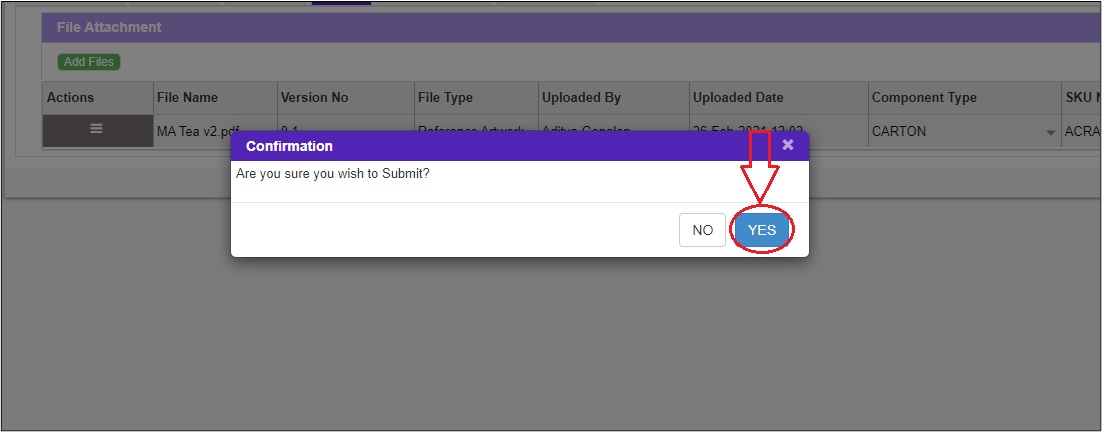
Once the Initiator clicks on Submit a pop-up confirmation window appears on the screen where the Initiator needs to click on the Yes button to kick start the workflow process.
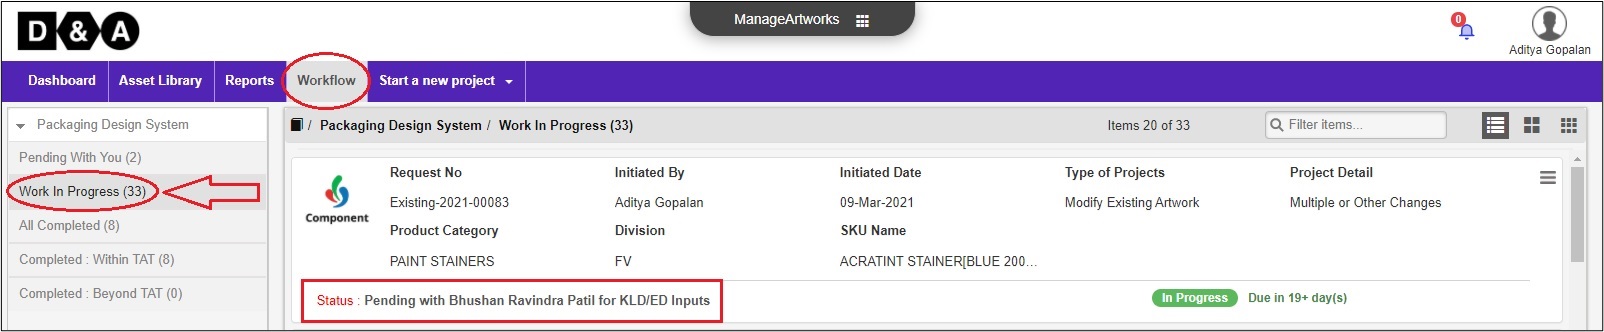
 The submitted request can be viewed in the Work In Progress folder under the Workflow tab of the Project Initiator. This notification is displayed with a status: Pending with (User Name) for KLD/ED Inputs.